- I figured Vinyl would be more stable under temperature and humidity changes(less prone to expansion and contraction).
- Vinyl is more flexible than Masonite. I need one cove with a 12 inch radius and the idea of trying to force a piece of masonite to bend that far was not appealing.
- Masonite would be more difficult to keep in place(at least in my situation).
- A Vinyl cove would be more forgiving of small shifts in the walls due to the house settling (or any other pounding I may do on the walls during construction).
I started out with one of the 18 inch coves. I first measured 18 inches out from the corner and drew a vertical line using a square on both walls.
Next I calculated the length of the vinyl I'd need to fit in the cove for an 18 inch radius curve.
This was a moment of epiphany for me; all those years of high school finally paid off for me when I pulled
this dusty jewel from my memory: 2R x PI = C. Once I got the circumference, I divided the value by 4
to get the length for the vinyl. I wiped the sweat from my brow and trembling with excitement took the time to demonstrate to
my daughters that that their High School education (which is still a few years off)
might actually be worth while (but don't ask me what 4 years of college and a Philosophy degree did to my mind...). I showed them my handi-work and attempted to explain the
beauty and simplicity of the formula.
Sigh...Well as you can see my attemps at higher education really made a big
impression on my youngest daughter. She snatched the paper out of my hand and began making her own additions...

Anyway...I digress.
I ended up with a width of 28.25" and a height of 31.5" (from the top of the benchwork
to the bottom of the floor joists). I used a 2 ft. square, straight edge, and utility knife to cut
the vinyl. I had a piece of quarter inch masonite under the vinyl while I did the cutting.
I ended up using two sheets of vinyl for each cove. One sheet alone was too flimsy
and was difficult to work with. I glued the two pieces together using contact cement.
The second piece was one inch smaller than the first creating a half inch lip to secure to the wall.
I thought it would make applying the mud and making a smooth transition into the cove easier.
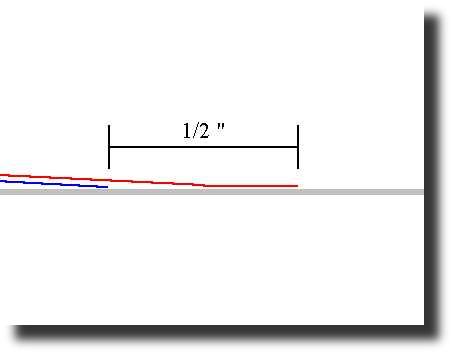
I then applied contact cement to the lip and to the wall adn let the surface dry until
they were slightly tacky to the touch.
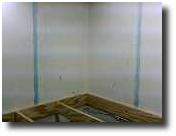
Now it was time to put the cove in place...
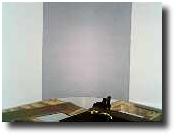
...and apply the mud.
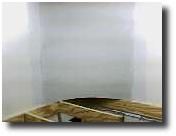
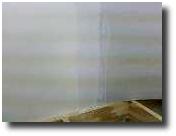
Once the mud dried, I sanded using 120 grit sanding screen and then painted
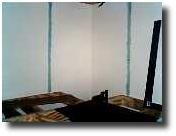
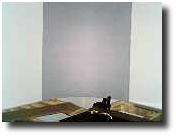
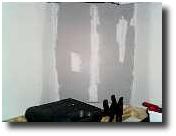
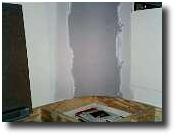
the backdrop using a flat sky blue latex paint. Here are the results...
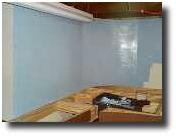
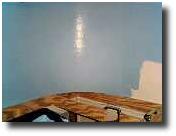
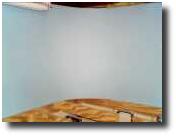
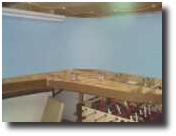
Here are a few more shots from other areas of the layout.
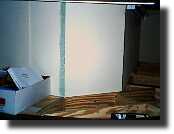
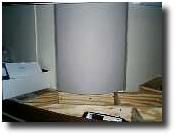
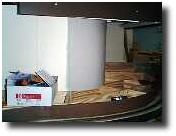
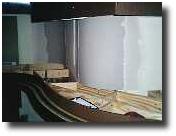
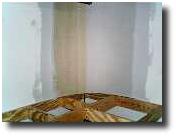
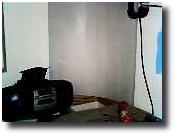
If I had to do this over over again I would not purchase vinyl that had patterns
embossed on the finished side. They still have a tendency to show through on the backside.
Even so, it doesn't look too bad once it's been painted.
The next task is to deal with the window wells. The windows are pretty low since I don't have 8 foot ceilings
and I'd like to devise a removable covering them.
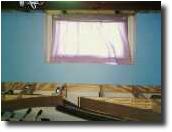
Click here to find out how I deal with this problem.


